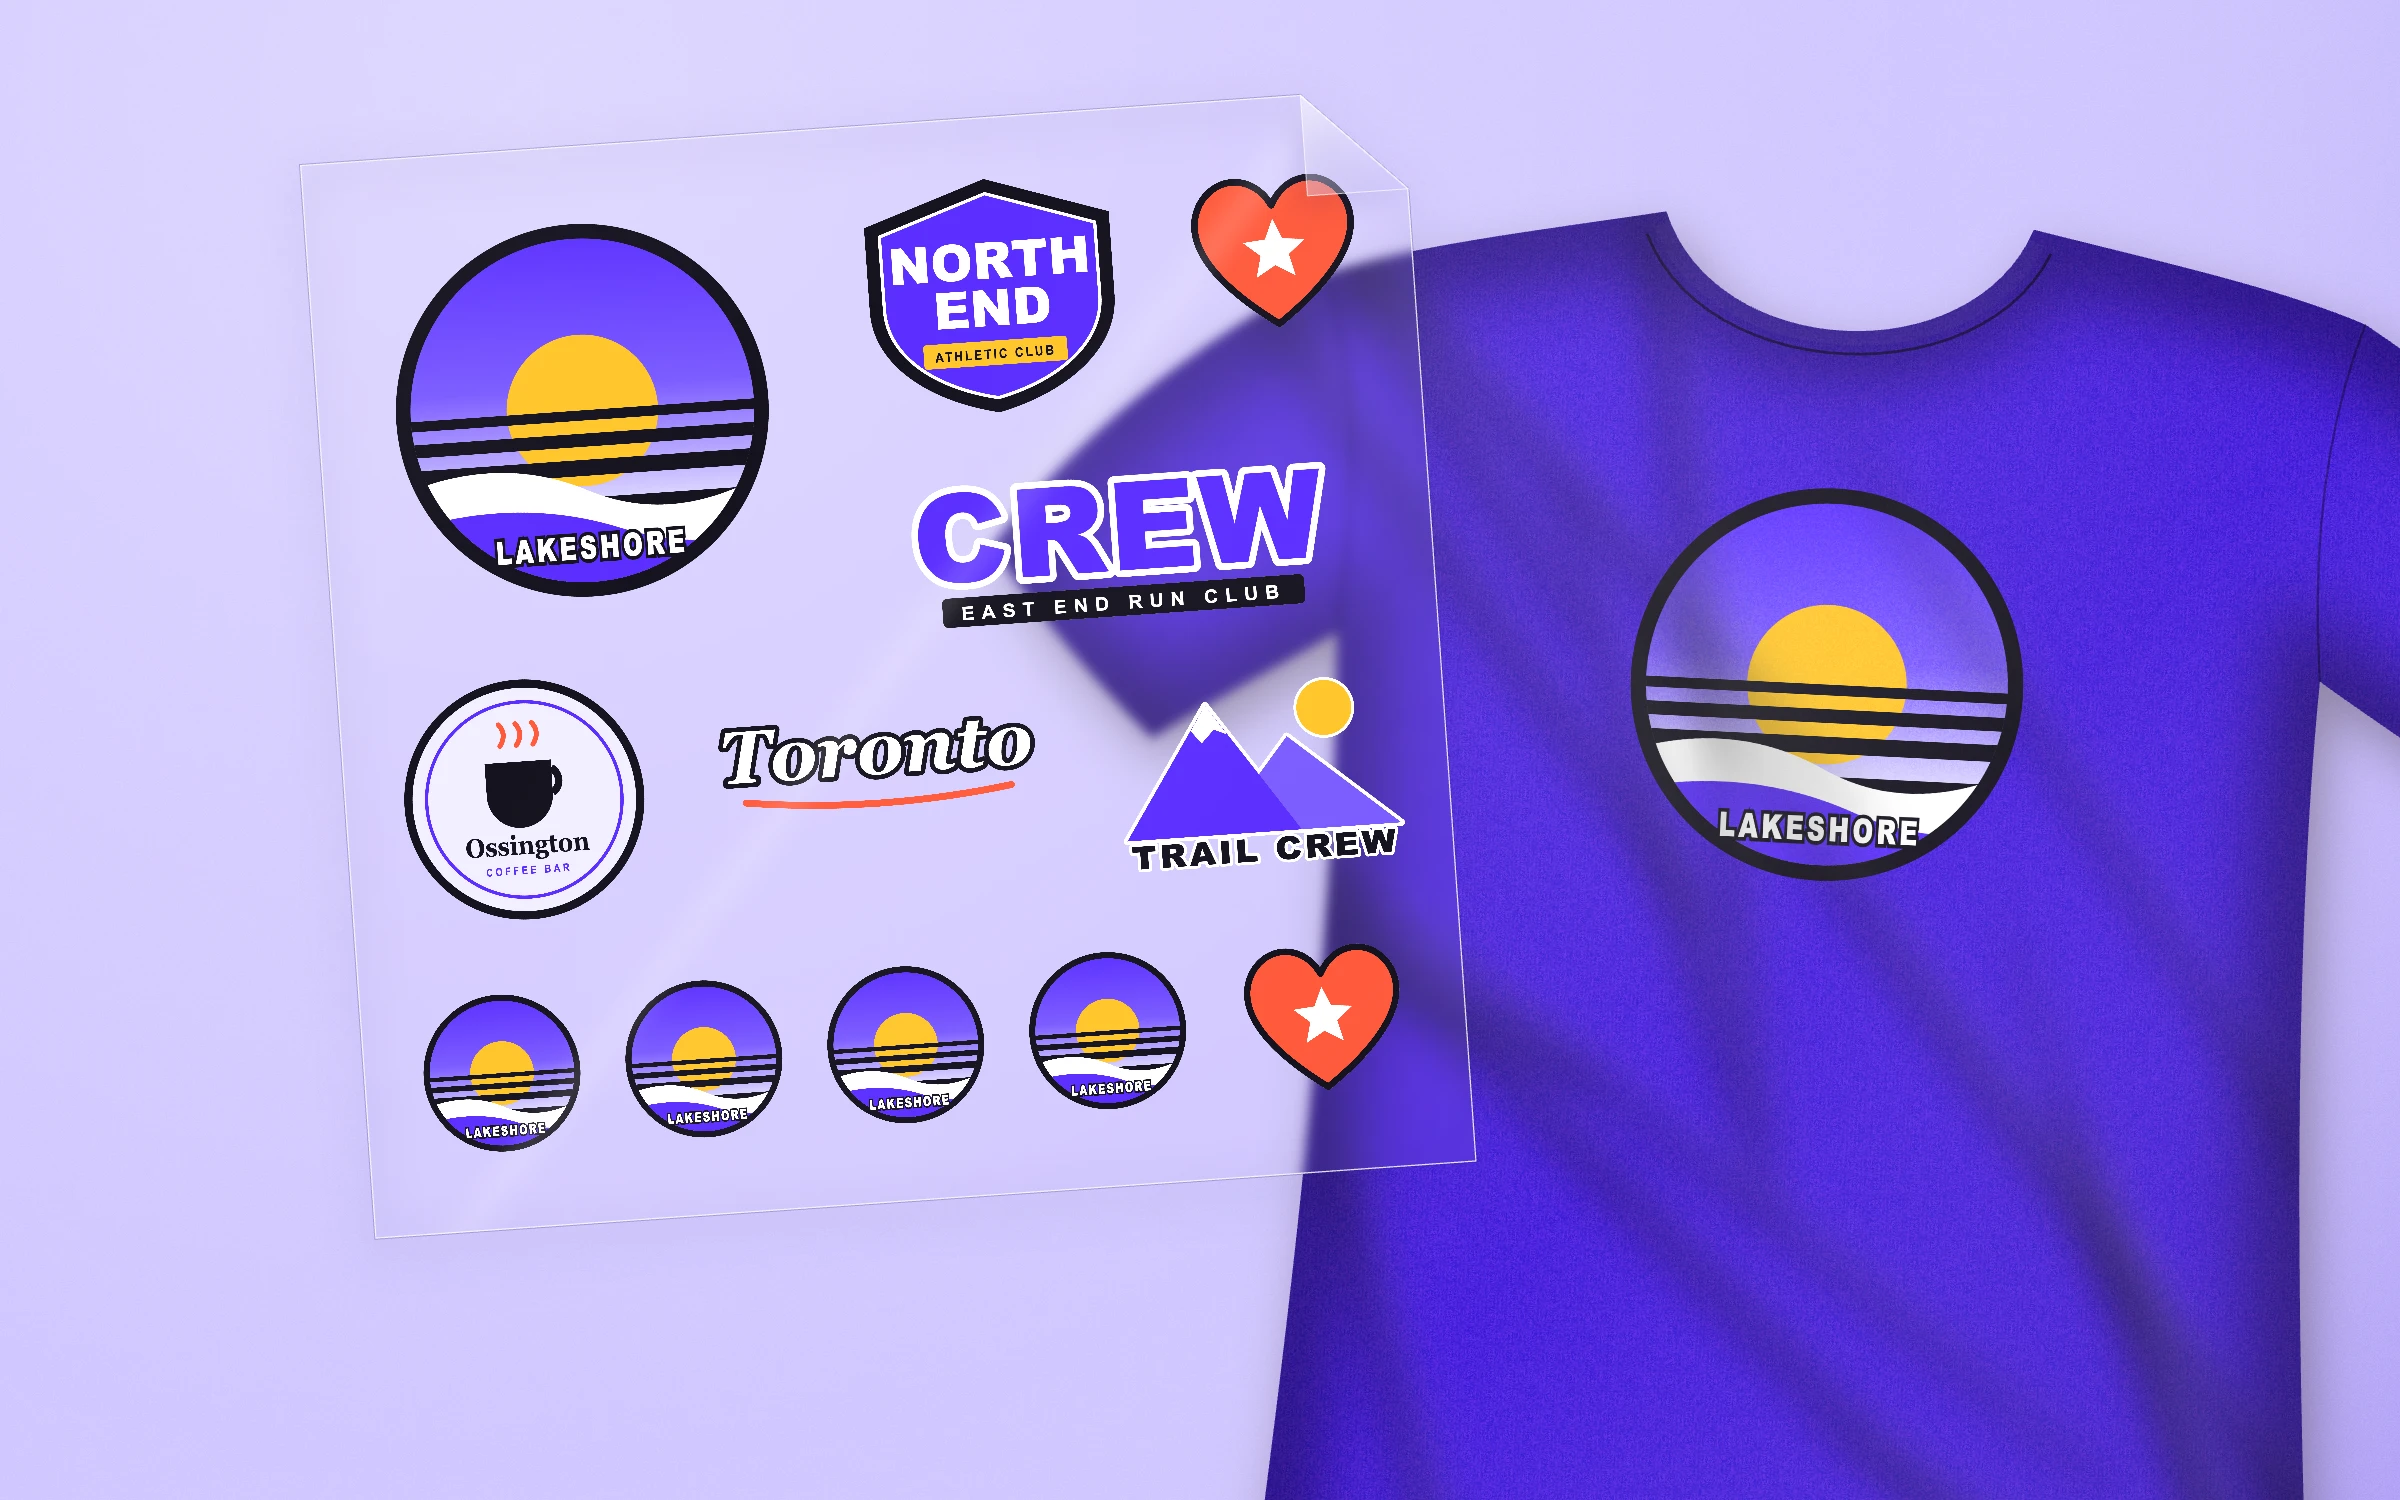
Event merch usually starts with a big idea: hoodies, hats, a design for every volunteer role. A run that actually gets made, on time and on budget, tends to be smaller. Here is one small run planned from the first conversation to the order, with every decision shown.
The brief
A neighbourhood run club is hosting a spring 5K along the Toronto waterfront. About 30 volunteers will marshal the course and run the sign-up table. The club wants volunteers to be easy to spot on the day, and it wants something to sell at the table to cover costs.
Two questions shaped everything that followed:
- Who wears it, and when? Volunteers wear theirs once, on a cool spring morning, over whatever they arrived in. Buyers want something they will use again.
- What does the club already own? A round sunset badge from last year's flyers, and a free-standing wordmark.
Choosing what to make
The first list had hoodies, tees, totes, caps and stickers. The club cut it to two items, each with a job:
- Volunteer tees. Light enough to pull over a jacket, cheap enough to give away. The badge on the front, and a large VOLUNTEER wordmark across the back so runners can find help from behind.
- Canvas totes for the table. One size fits everyone, so there are no leftover smalls or XXLs, and they get used long after race day.
Hoodies were the hardest cut. They are popular, but they come in more sizes, cost more per piece and would take a guess at demand the club couldn't make yet. They became a "maybe next year".
Deciding which designs to print
Two designs made the cut: the sunset badge and the VOLUNTEER wordmark. Reusing one badge across both items keeps the event looking like one event, and every extra design is another file to prepare and check.
The badge needed one check before anything was ordered: last year's flyer file was a small JPG with a white background. A transfer prints everything that isn't transparent, including a white box, and a small file enlarged to 10 inches looks soft. The club went back to the designer for a large transparent PNG.
Picking print sizes
Sizes were decided in inches, on the actual products, before anything went near a sheet. A quick way to do it: print the design on paper at a few sizes, cut them out and hold them against a shirt and a tote. For this run:
- Tee front: badge at 10 in wide. Big enough to read across a park, and it still fits the smallest shirt in the order.
- Tee back: wordmark at 11 × 2.5 in, across the shoulders.
- Tote: badge at 9 in, centred, leaving a margin inside the seams.
One transfer size is used for every shirt size. That keeps the order simple; the check that matters is the smallest shirt, where a design that looks right on a large can crowd the collar or the armholes. Placement and scale across different products is its own topic: see three ways to use one design across tees, totes and hoodies.
Settling quantities
The club counted volunteers rather than guessing: 30 tees. For the table, 40 totes, a number it could sell or keep for next year without regret. Then it added spares, about one in ten, rounded up:
- 30 tees, plus 3 spares: 33 front badges and 33 back wordmarks.
- 40 totes, plus 4 spares: 44 badges at 9 in.
Spares cover a test press on a scrap garment, a crooked placement and the volunteer who signs up the night before. Pressing a test piece first matters most on fabrics you haven't used before.
Fitting it onto gang sheets
Every design goes onto 24-inch-wide gang sheets, and the sheet length is what you pay for. The estimate below lines the designs up in simple rows, the way you might sketch it on paper, and rounds each sheet up to the next length you can order.
Job ticket · Example estimate
Simple rows, 0.25 in between designs (the builder's default)
| Design | Size | Copies | Per row | Length |
|---|---|---|---|---|
| Sunset badgeTee front | 10 × 10 in | 33 | 2 | 174.25 in |
| VOLUNTEER wordmarkTee back | 11 × 2.5 in | 33 | 2 | 46.75 in |
Needs about 221.25 in. Order 24 × 225 in
| Design | Size | Copies | Per row | Length |
|---|---|---|---|---|
| Sunset badgeTote | 9 × 9 in | 44 | 2 | 203.5 in |
Needs about 203.75 in. Order 24 × 205 in
Both sheets: 10,320 sq in at $0.023 per sq in = $237.36 before tax, at current prices.
Two notes on the numbers. First, the estimate is generous: simple rows of 10-inch badges leave a strip about 3.5 inches wide down the side of the sheet. In the gang sheet builder, "Fill" packs copies into free space and you choose the sheet length that fits, so the real layout can come out shorter. Second, splitting the run across two sheets costs nothing extra: the price is set by the total printed area of everything in the cart, so two sheets cost the same as one sheet of the same total length.
Working back from the event date
With the order sized, the club worked back from race day, leaving time for each step:
- Final artwork approved by the club, and spelling checked. Transfers are printed exactly as supplied.
- Order placed, then printing. Production takes 2 business days at FlexPrints, and delivery time comes after that (see the FAQ), so allow for both before fixing a date.
- Pickup in Toronto, which is free and available any time once the ready-for-pickup email arrives.
- An evening of pressing, with a test piece first, a week before the race rather than the night before.
The short version
- Decide who wears it and when, then cut the item list to the ones with a job
- Reuse one or two designs across everything
- Get large, transparent PNG artwork before anything else
- Choose sizes in inches on the real products, and check the smallest size
- Count people, then add about one spare in ten
- Lay out the sheets and let the area price do the maths
- Work back from the event date, with time to test-press