How to apply DTF transfers
From film to garment in three steps.
Pressing settings aren't confirmed yet
Temperature, press time, pressure, peel (hot, warm or cold), any second press, and washing and care depend on our printer, film and powder. Tested settings will be published here; until then, don't rely on generic settings from other suppliers.
General workflow
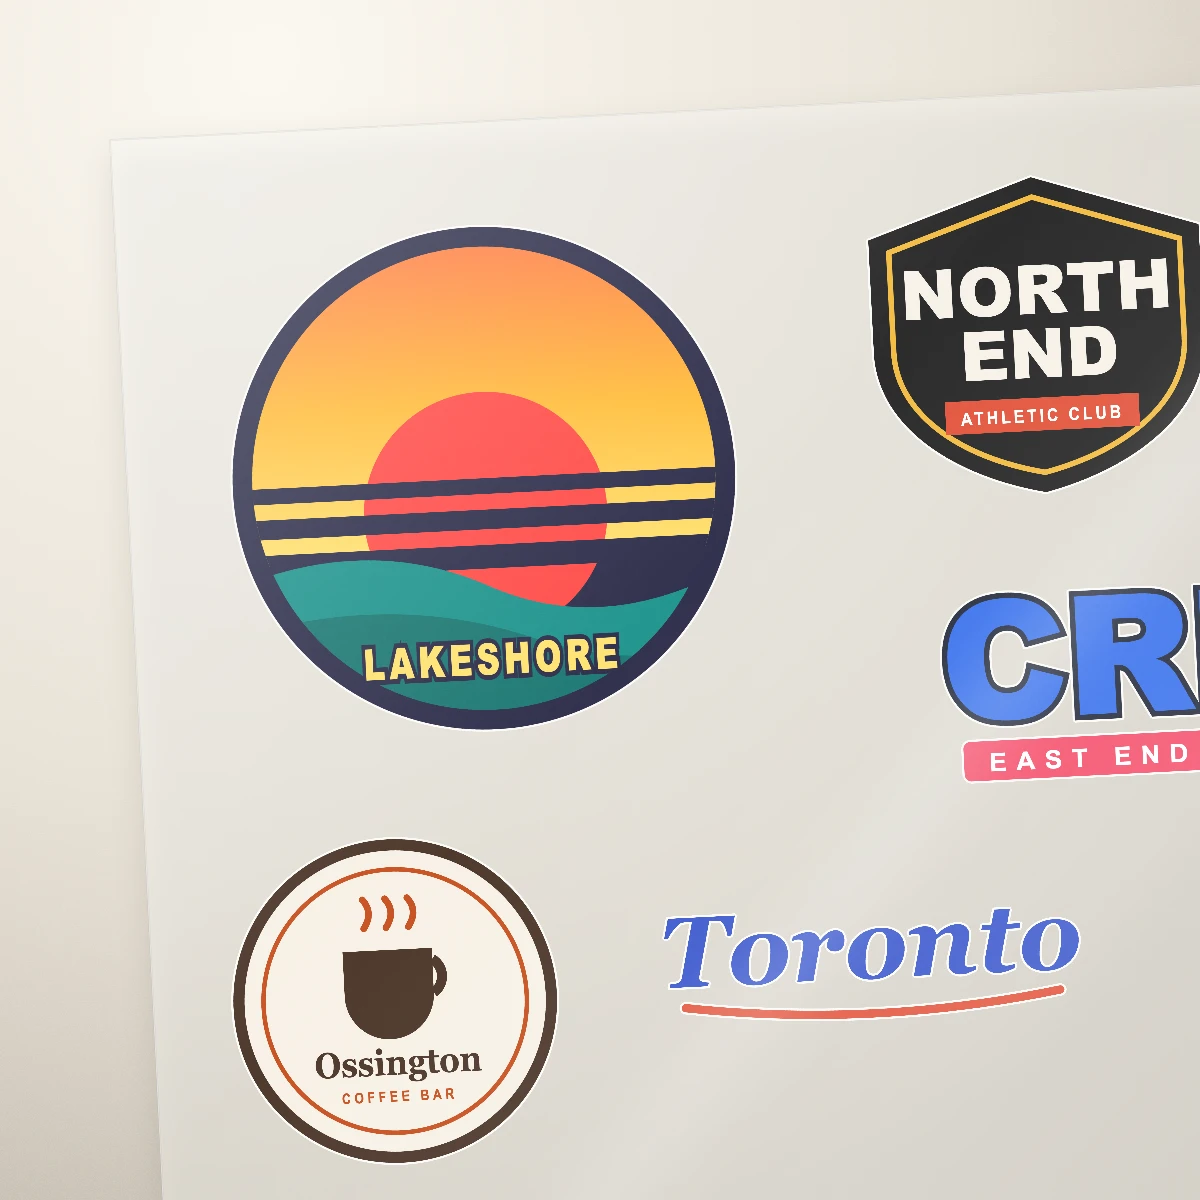
Trim
Cut each design from the sheet, leaving a small margin.
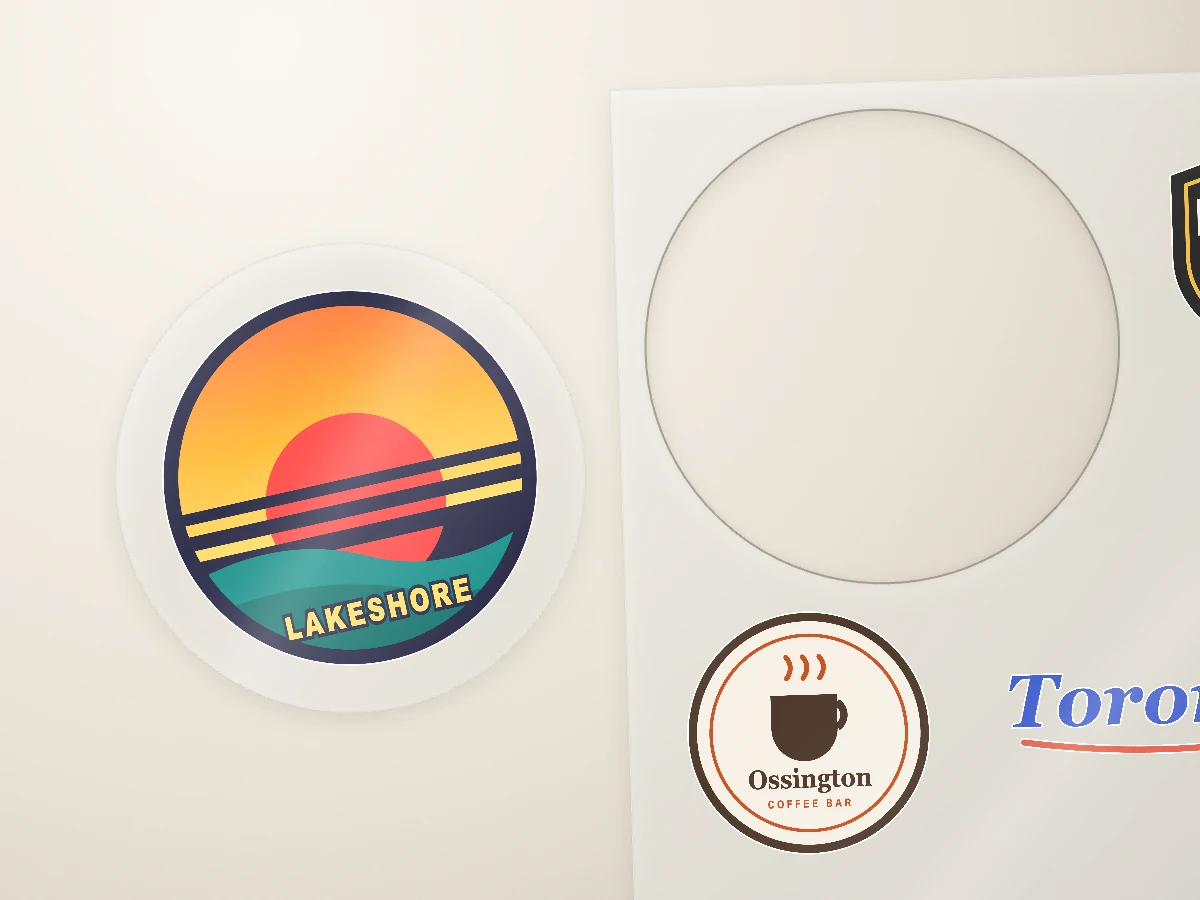
Place
Pre-press the garment to remove moisture and wrinkles, then lay the transfer adhesive side down.
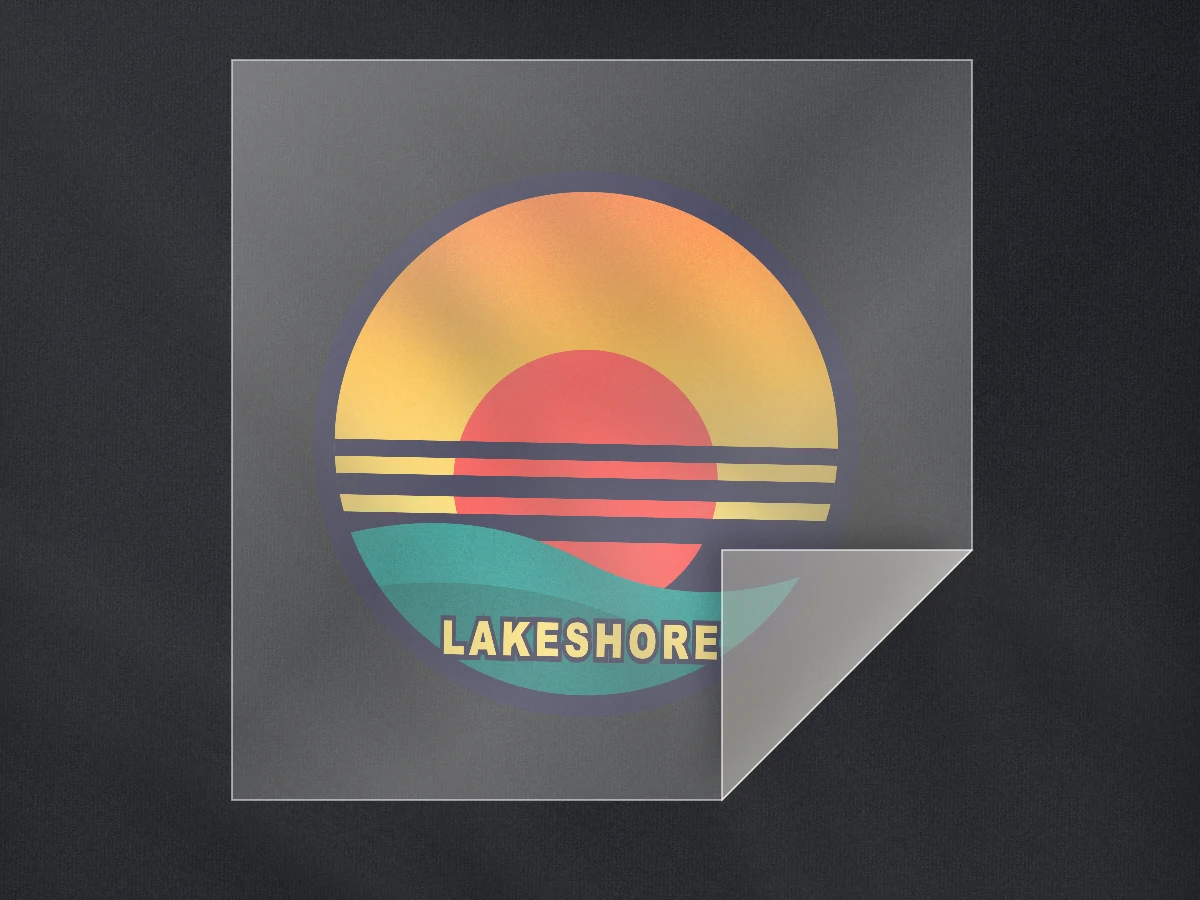
Press and peel
Cover with a protective sheet, press, then peel the film as directed for our film.
What you'll need
- A heat press (a household iron isn't recommended for even pressure and heat)
- A protective sheet such as a Teflon sheet or parchment
- Scissors or a cutter
- A clean, dry garment
Good results start with the file
Pressing can't fix a soft or pixelated print. Always test on a spare garment first, especially heat-sensitive fabrics such as nylon or some performance materials.
Ready to order? Build a gang sheet from separate designs or upload a finished sheet.